A look at how a page of Astro City is produced, from script to published comic, originally written for the Lynda.com blog in anticipation of Comic-Con in 2015.
San Diego Comic-Con is in full swing this weekend. For nearly 150,000 people, it’s a chance to dress up as a Stormtrooper, or a zombie, or a zombie Stormtrooper, and get the skinny on the latest video games, comic books, and movies.
But for those of us who work in the comics industry, Comic-Con is our annual opportunity to meet face-to-face with the people we collaborate with the rest of the year. Back in the days of Stan Lee and Jack Kirby, comic books were created start to finish in one big office. But now writers, artists, letterers and colorists—like creative folk in many fields—can live and work wherever we like.
For example, the Eisner Award-winning comic Astro City is written by Kurt Busiek in the Pacific Northwest region of the United States, drawn by Brent Anderson in the San Francisco Bay Area, colored by Alex Sinclair in San Diego, lettered by me and my Comicraft cohorts in Santa Barbara, and coordinated by editors Kristy Quinn and Molly Mahan at the DC Comics office in Burbank. The comic and its creative team celebrate Astro City’s 20th anniversary next month, so our system must be working!
Here’s a peek behind the scenes at how Astro City is produced, from the moment the script is finished until files are delivered to the publisher for printing.
Part I:
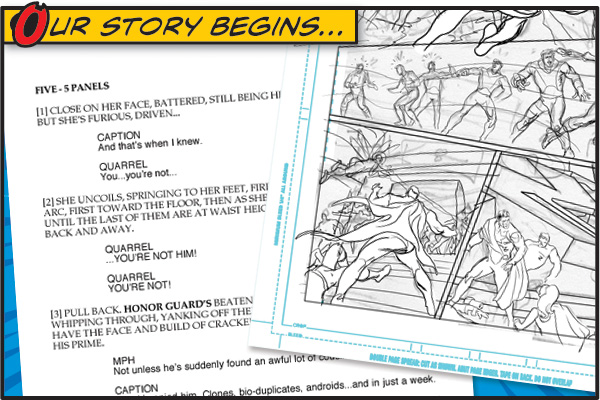
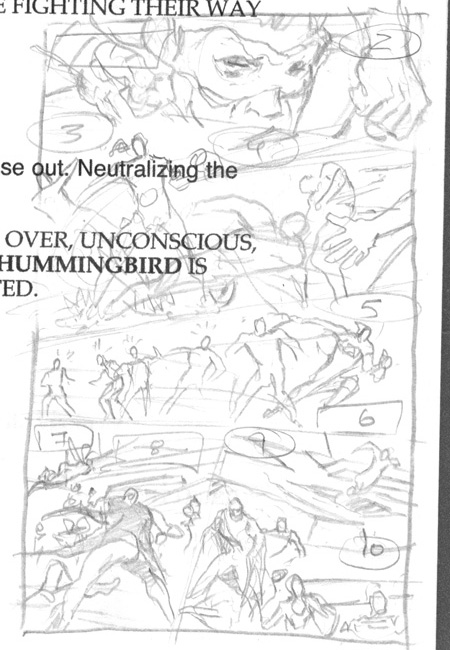
Writer Kurt Busiek provides a script, which breaks the story down into detailed descriptions of what happens in each panel: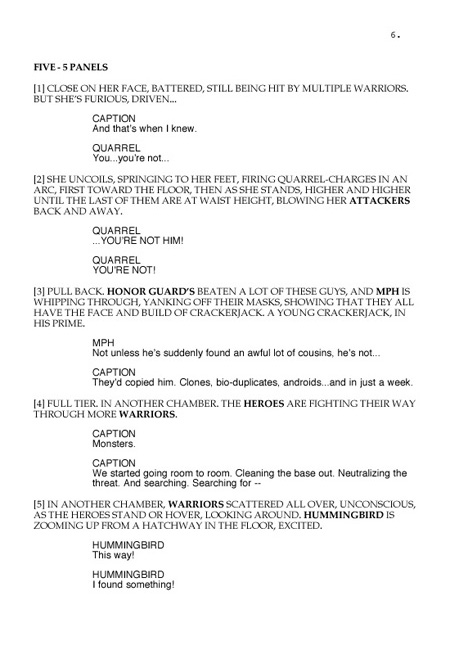
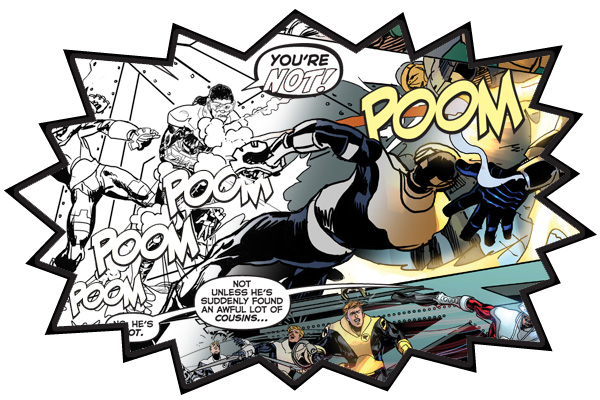
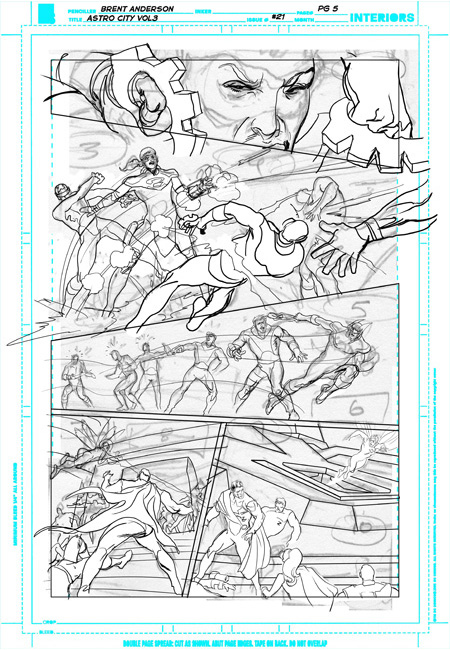
Some artists draw with pencil and ink on 11”x17” bristol board, while others use a tablet like a Wacom Cintiq to draw directly into the computer. Brent uses a combination of both. While reading through the script, he draws a “thumbnail” of the page in pencil…
…then scans and uses it as a template to “ink” over on the computer:
Part 2:
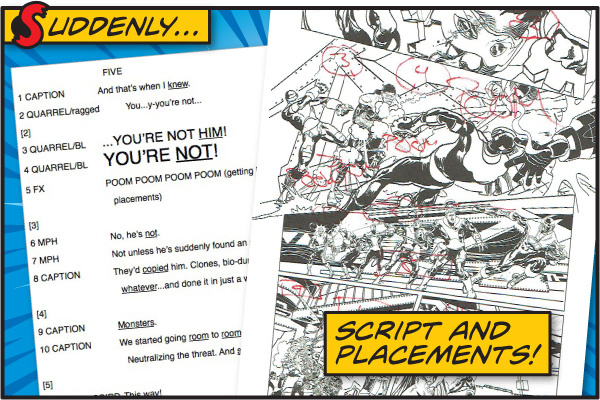
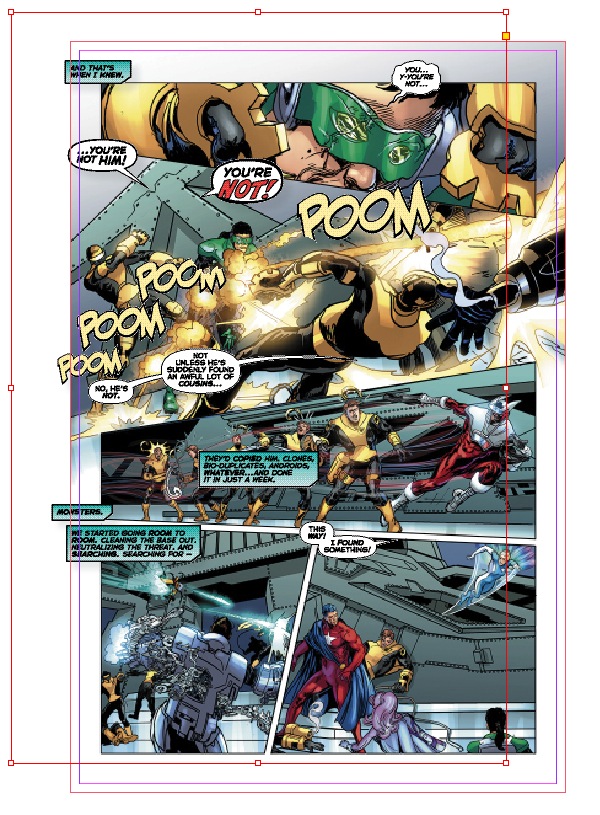
The letterer (that’s me) receives a script with the dialogue for each page, balloon placements, and TIFF artwork files. My job is to create the word balloons, sound effects, titles, and other lettering like road signs or newspaper headlines.
First I import the artwork file into Adobe Illustrator, then copy and paste the dialogue into each panel, as indicated by Kurt’s placement sheet (inset above).
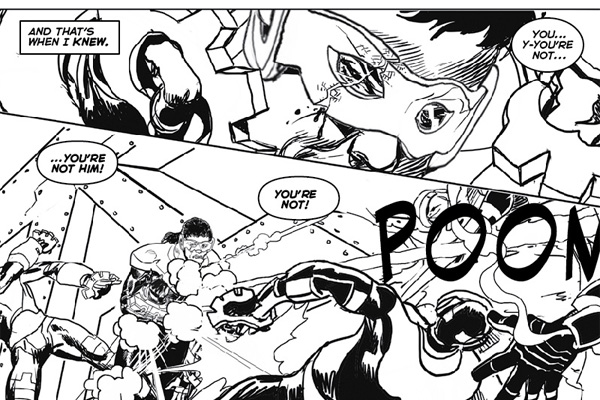
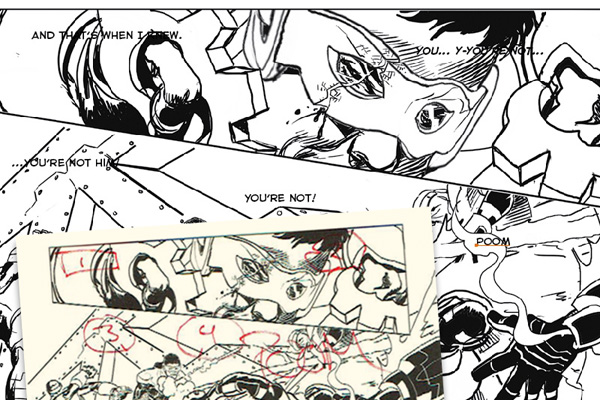
I arrange the dialogue into roughly circular shapes, and draw caption boxes and balloons on a layer beneath.
The type, balloons, and caption boxes are stylized—in this case, a wobbly-edged balloon for “weakened” speech, and larger type and thicker balloons for shouting.
I use the Create Outlines command on the sound-effect type, enlarging and arranging the letters to fill the space, attempting to visually communicate the size and texture of the sound it represents.
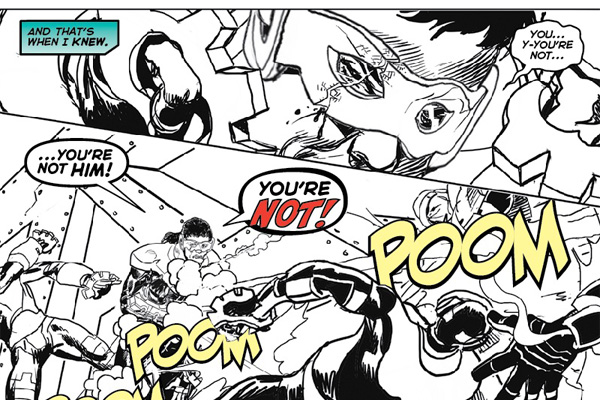
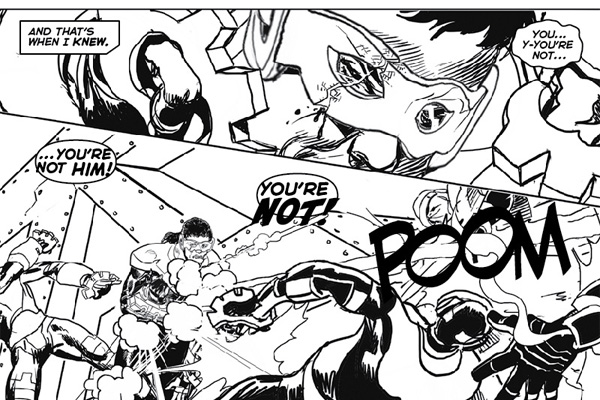
Lastly, I draw the balloon tails pointing to each character, and apply final styling and color to the lettering and sound effects.
Part 3:
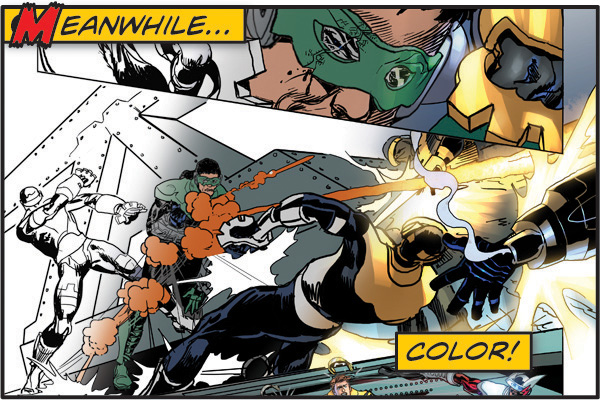
Colorist Alex Sinclair adds color and shading to the artwork in Photoshop. I hear there’s a magic wand tool in there—that must be how he does it so fast!
After eagle-eyed editors Kristy Quinn and Molly Mahan provide perfect proofreading, I make any corrections, remove the template artwork from the Illustrator files, and save in EPS format.
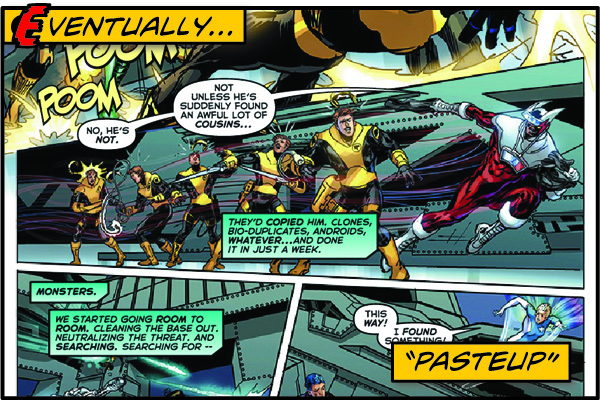
The EPS files are merged with hi-resolution TIFFs of Alex’s colored artwork in InDesign. This process is called “pasteup” even though there’s no longer any paste involved. Another kindergarten-learned skill gone to waste …
I export press-ready PDFs from InDesign and upload to DC’s servers for delivery to the printer.

A few weeks later, the printed comic appears in comic-book shops worldwide!
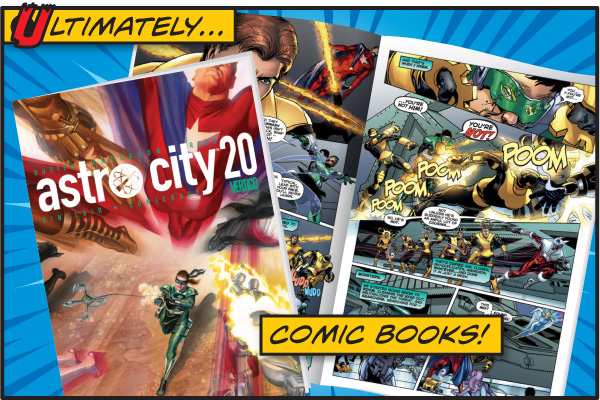
If you’re at Comic-Con this weekend, you can get your copy signed by Brent and Alex in Artist’s Alley, and by me at Comicraft, Booth 2106. See ya there!
Astro City is copyright © Juke Box Productions. Used with permission.